
Designer Notebook Research
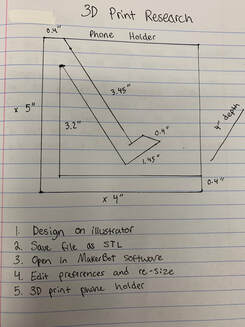
Step by step for creating a 3D printed phone holder:
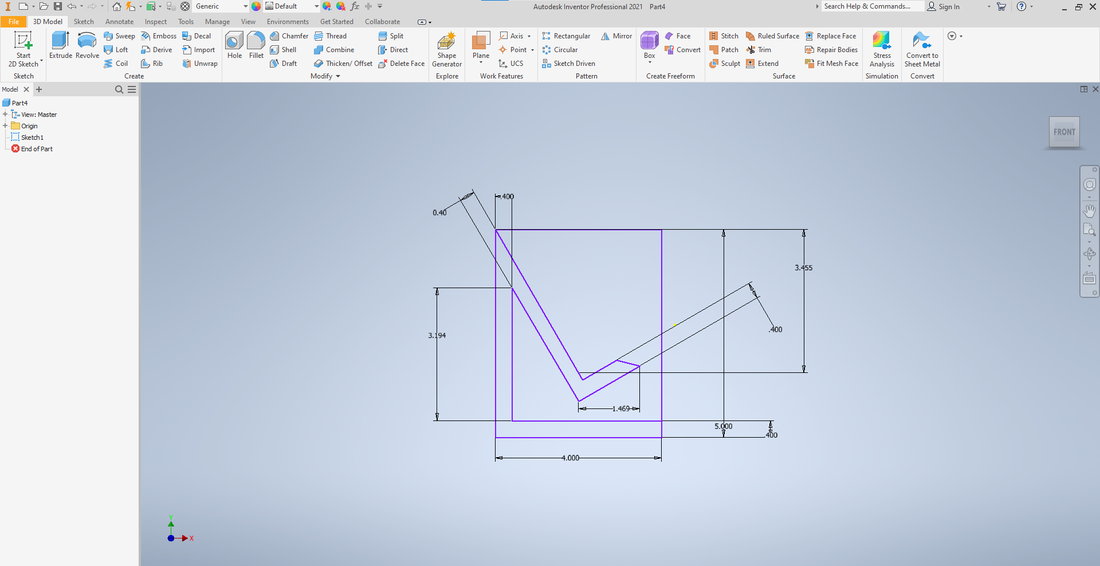
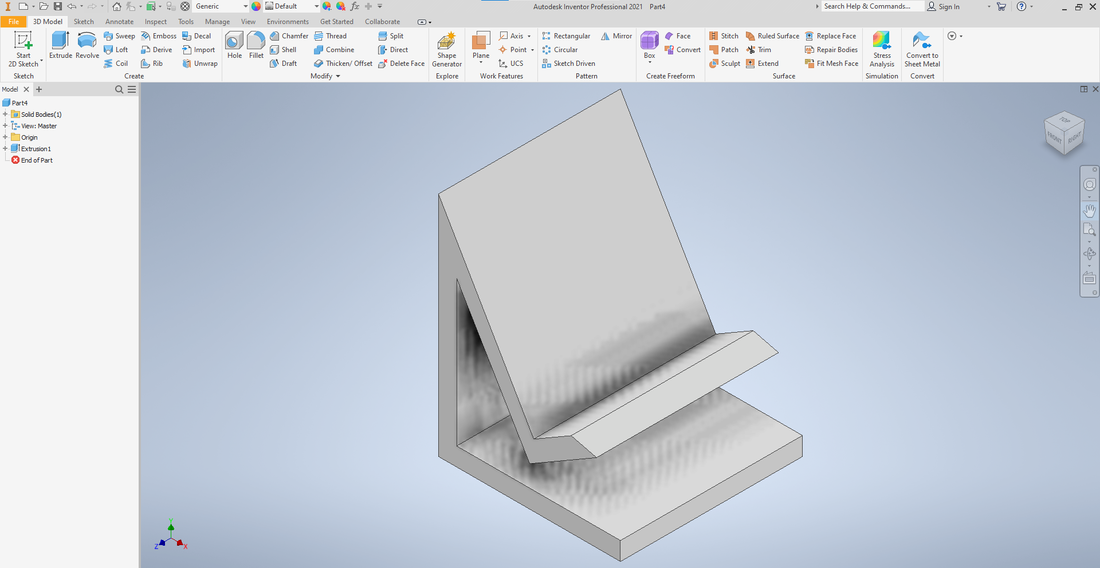
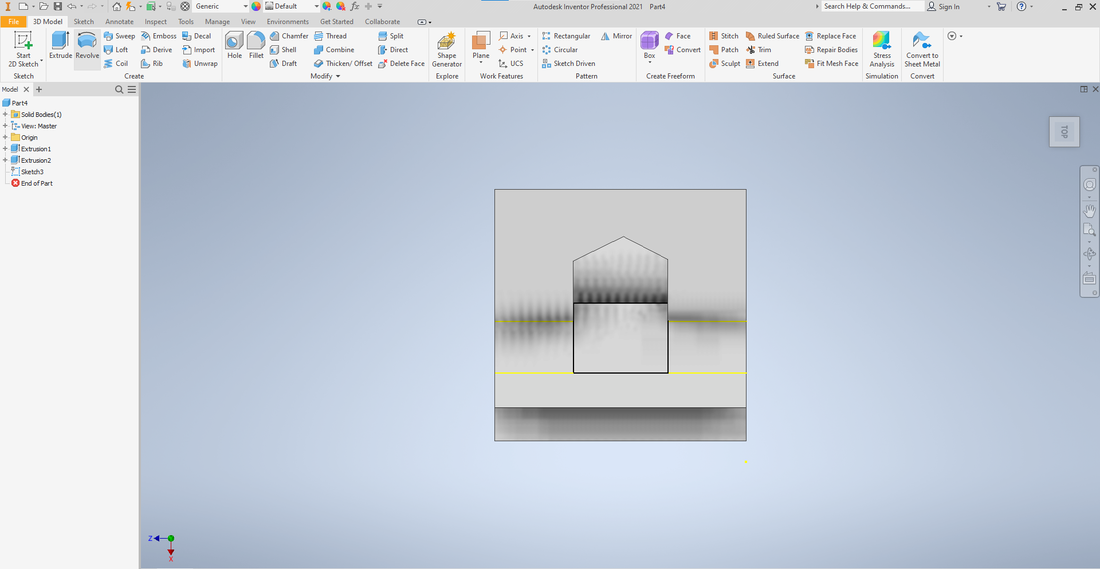
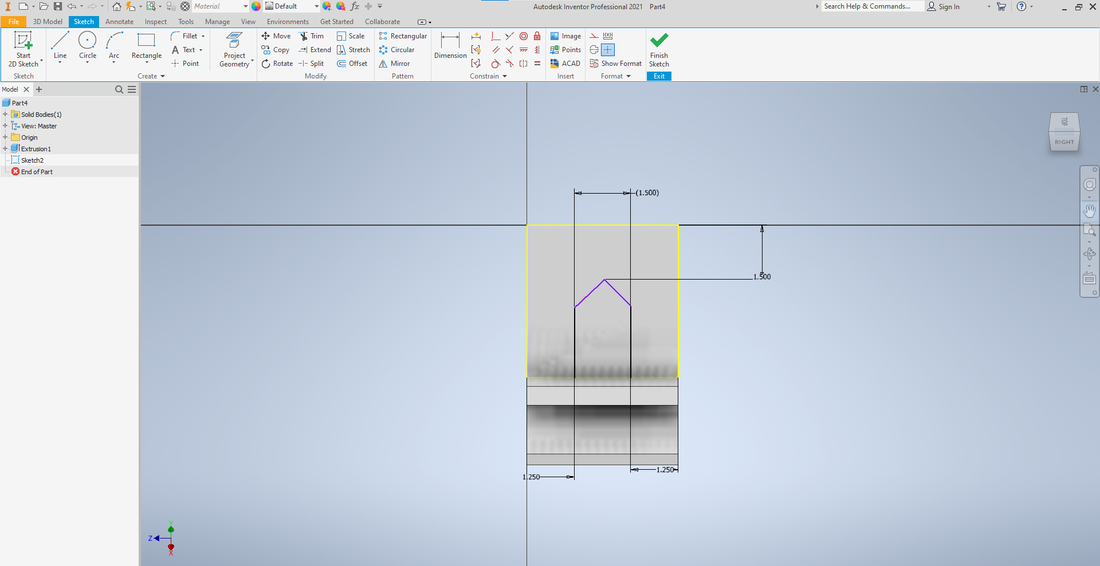
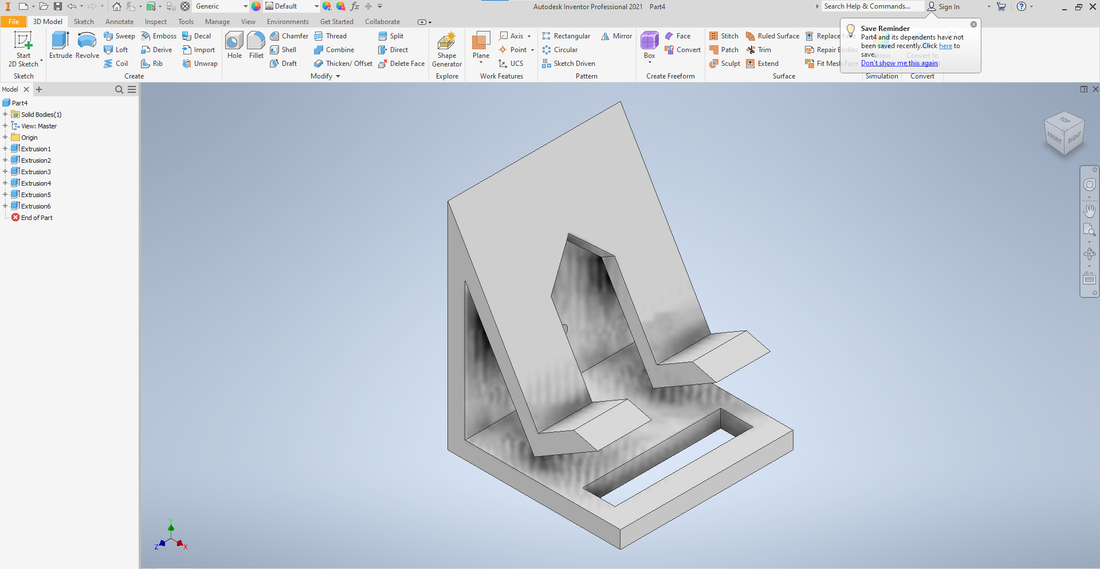
Step 1: Sketch and dimension on Inventor
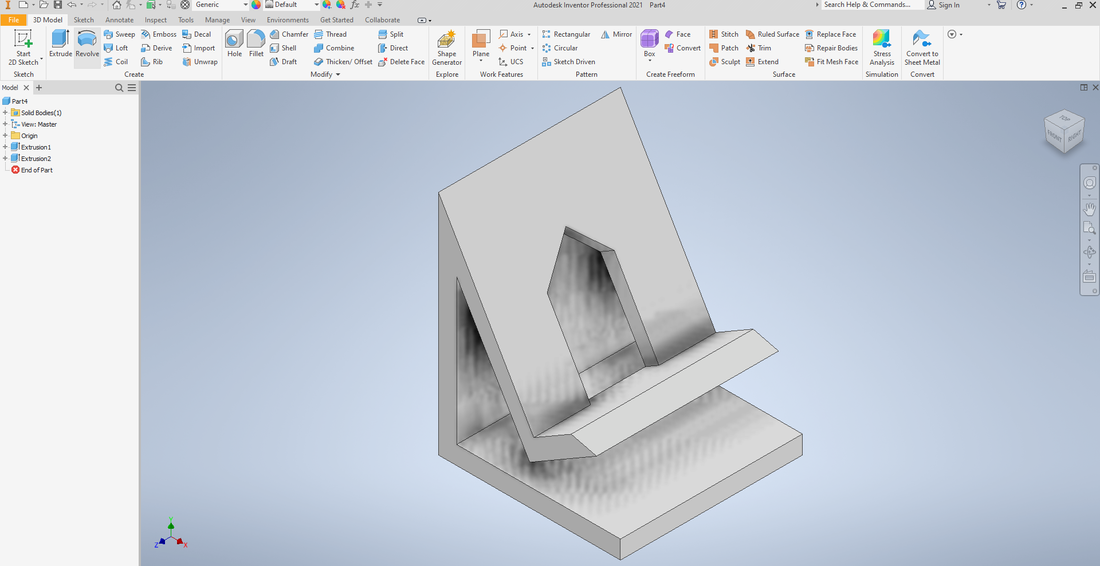
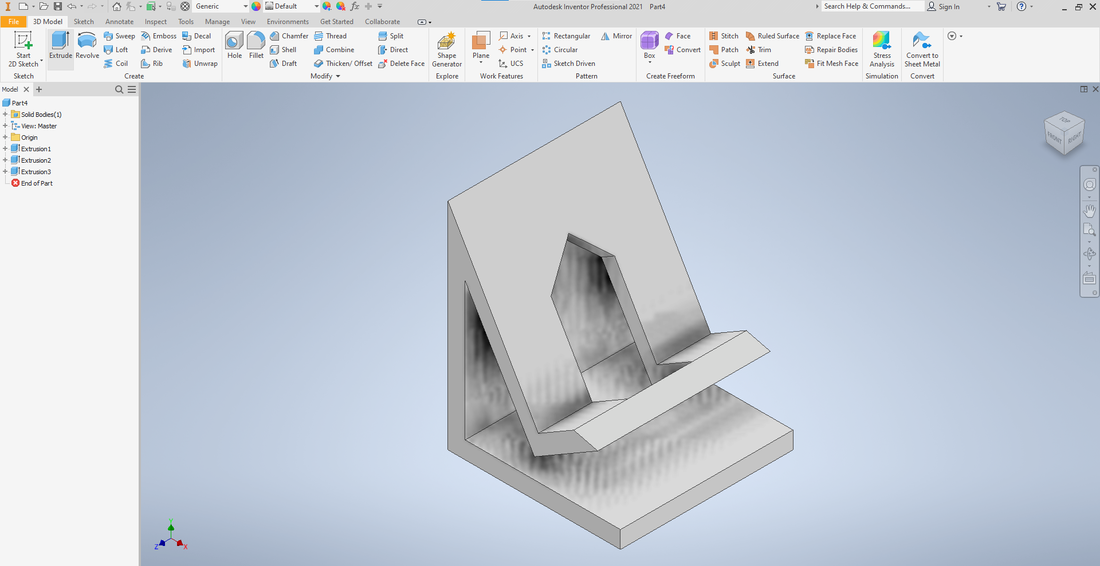
Step 2: Extrude sketch
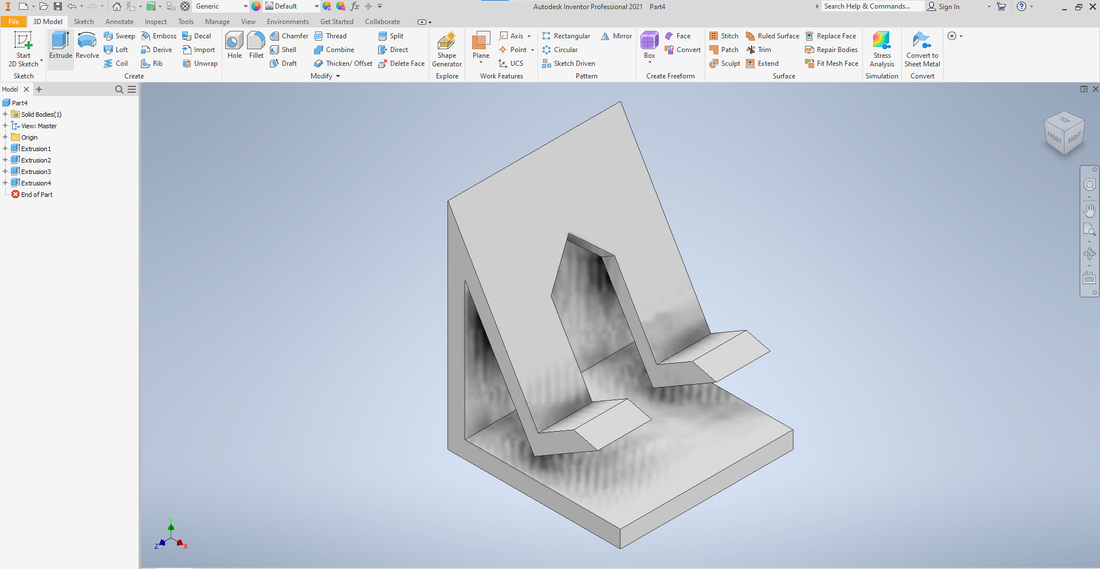
Step 3: Add sketch to the front face
Step 4: Extrude again
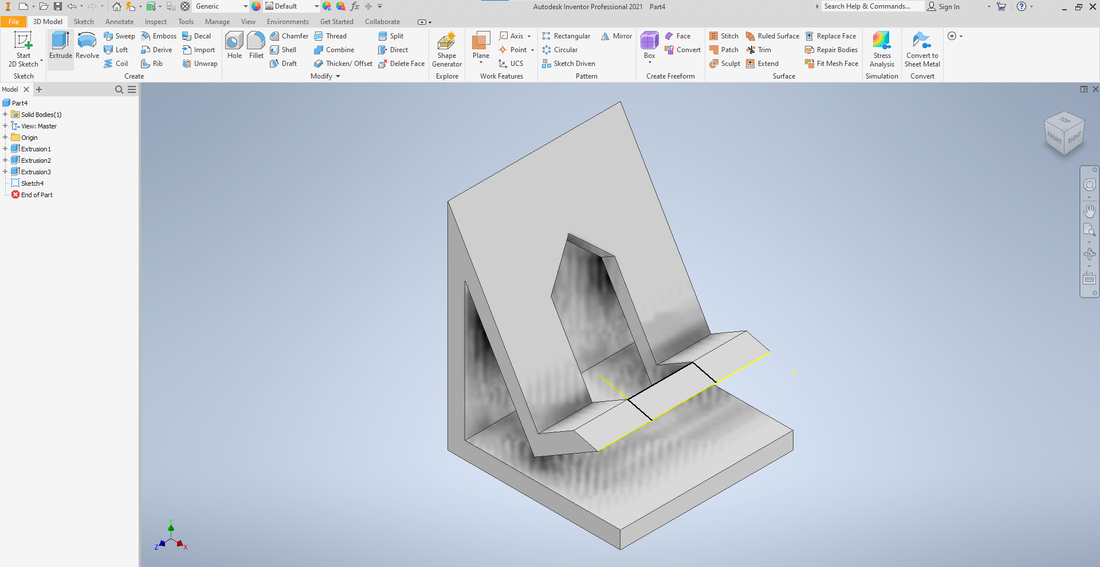
Step 5: Add sketch to the lip face
Step 6: Extrude again
Step 7: Add another sketch to the lip face
Step 8: Extrude again
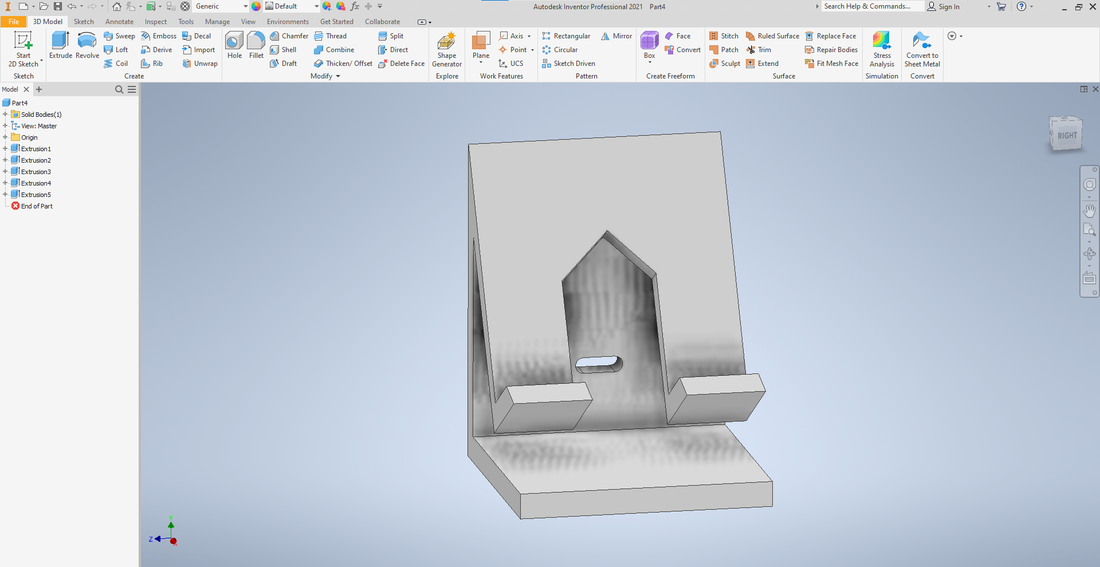
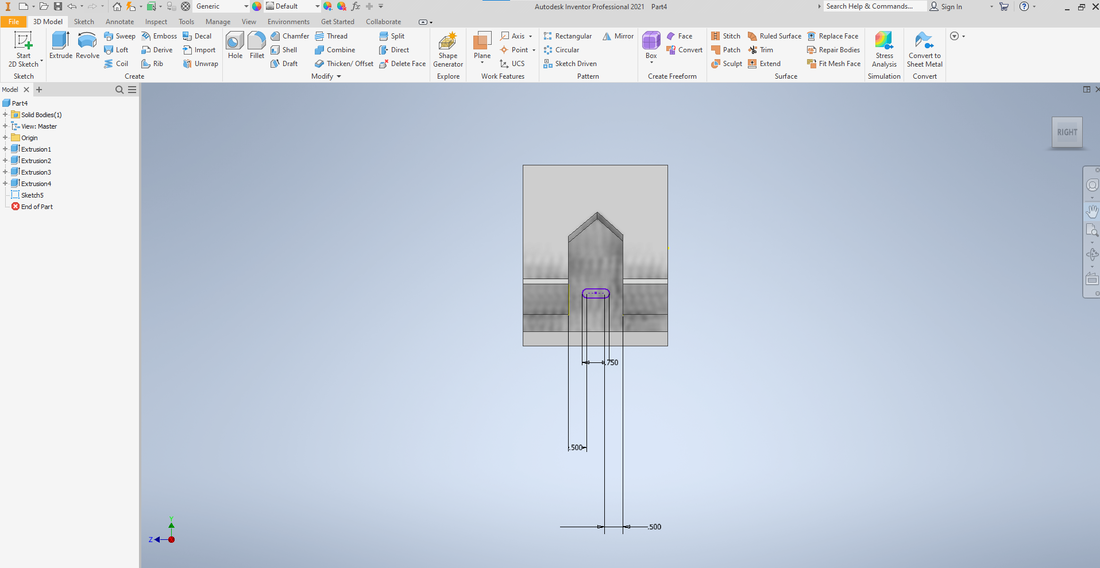
Step 9: Add the charger hole sketch to the back face
Step 10: Extrude again
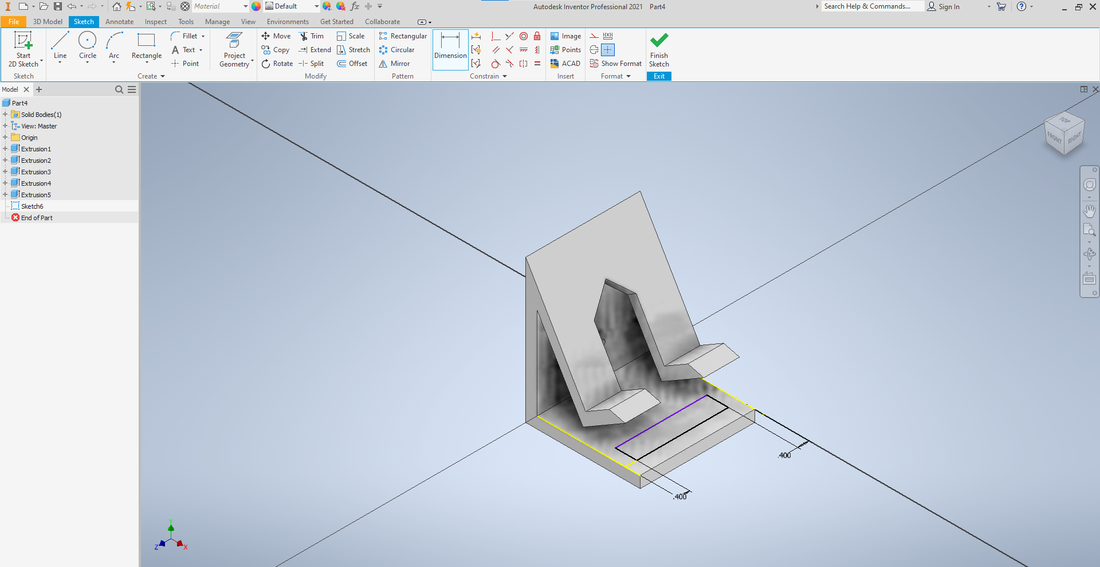
Step 11: Add sketch to the bottom face
Step 12: Extrude for a final time
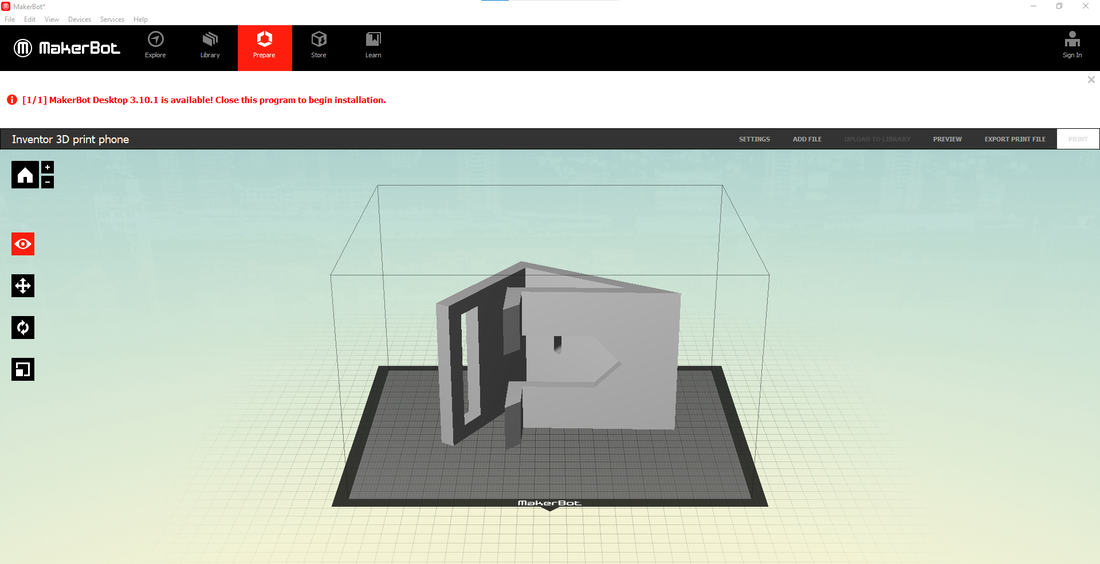
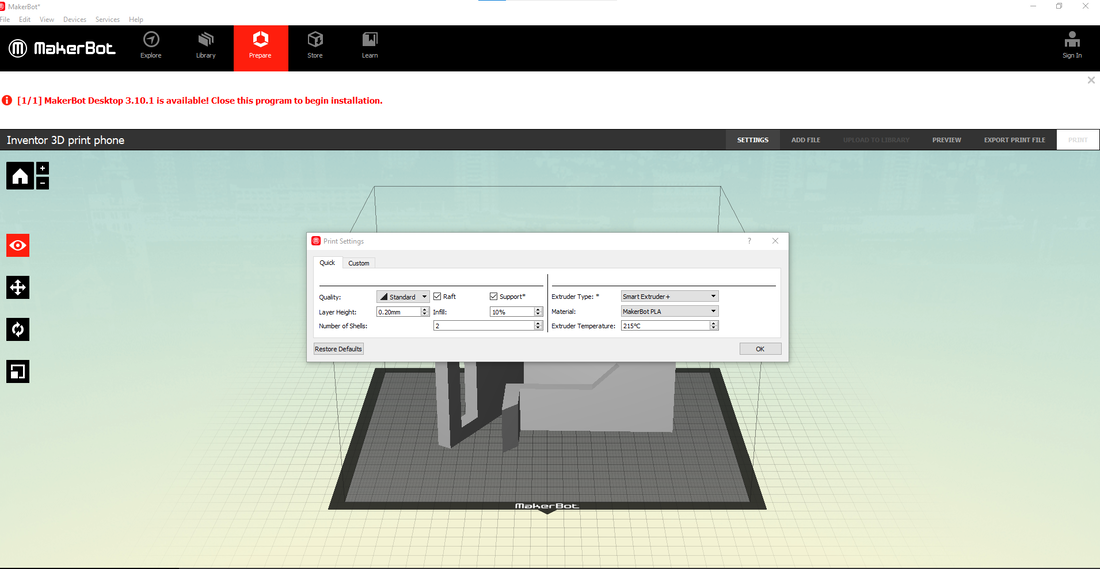
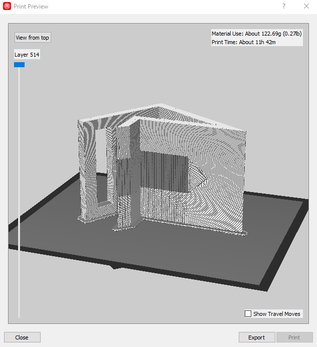
Step 13: Transfer to MakerBot software, rotate, increase size, and lay flat
Step 14: Edit settings
Step 15: View print preview
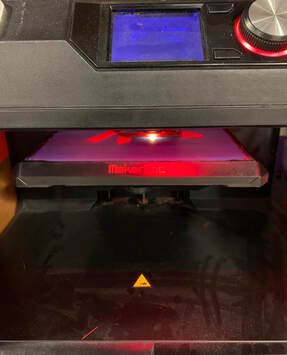
Step 16: 3D print
|
|
|
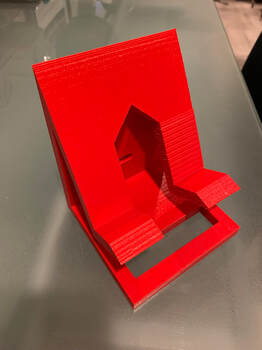
During this 3D printing unit, I used my knowledge of inventor to create a phone holder. I learned how to make sketches and extrude on different faces of the object to make it look interesting. I also learned how to remove supports from the final 3D printed object. The phone holder turned out great and was able to hold my phone perfectly.
