
Step by Step for creating a CNC brake braket:
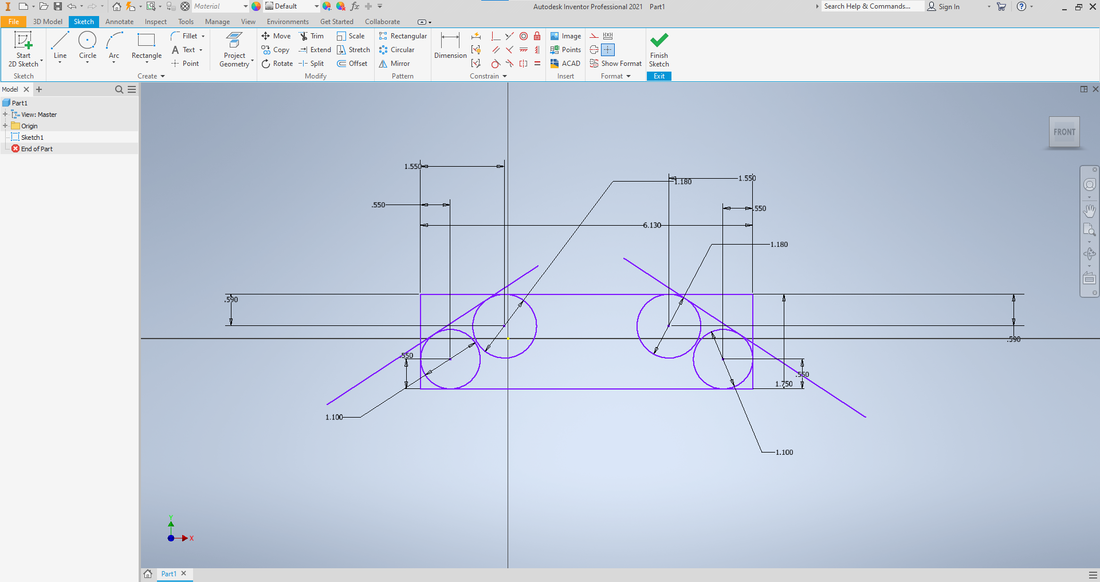
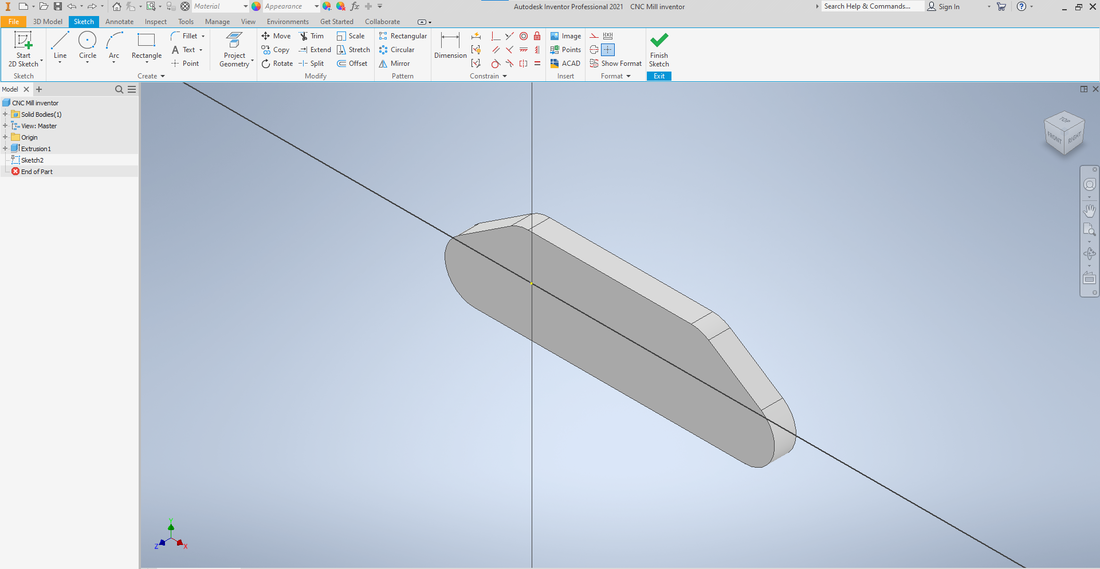
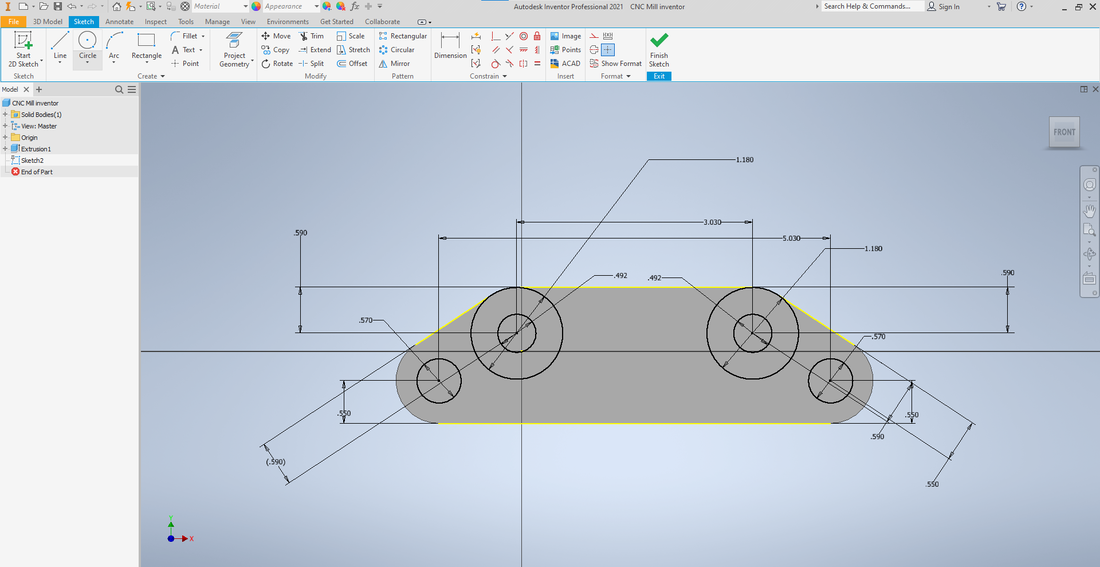
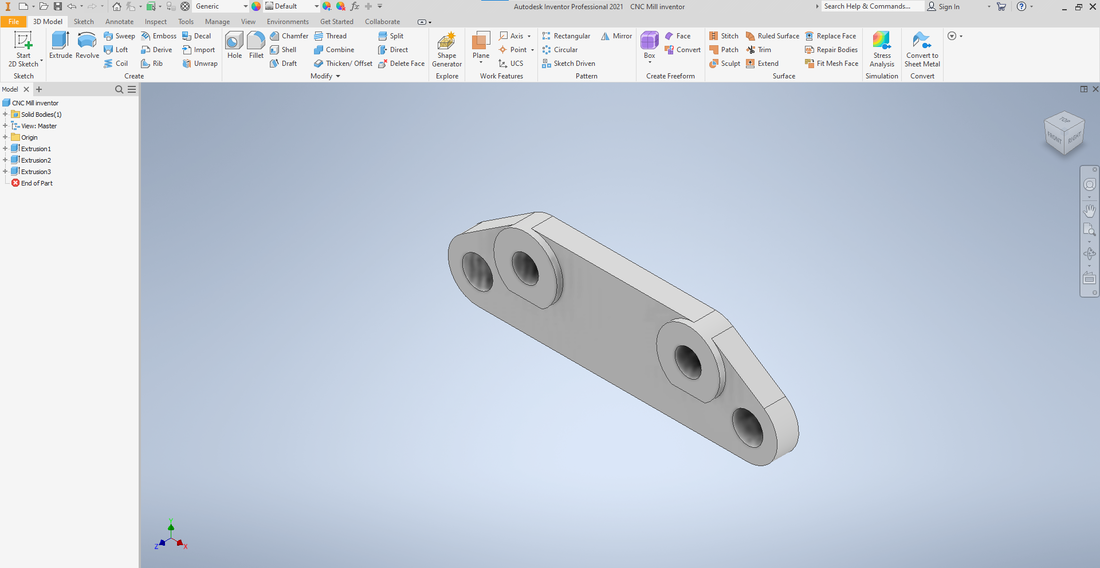
Step 1: Sketch object on Inventor
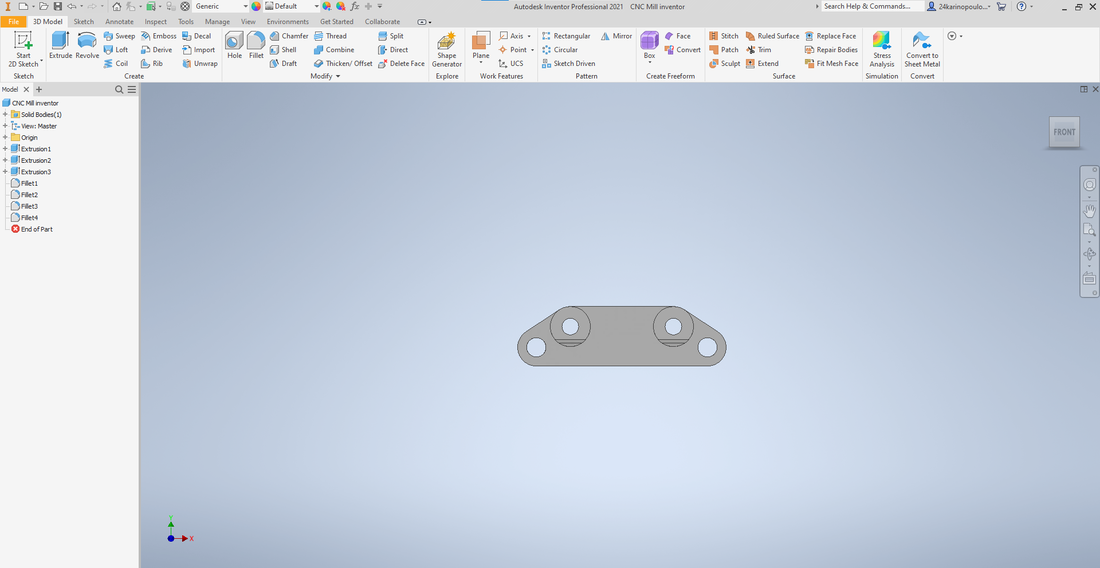
Step 2: Extrude sketch
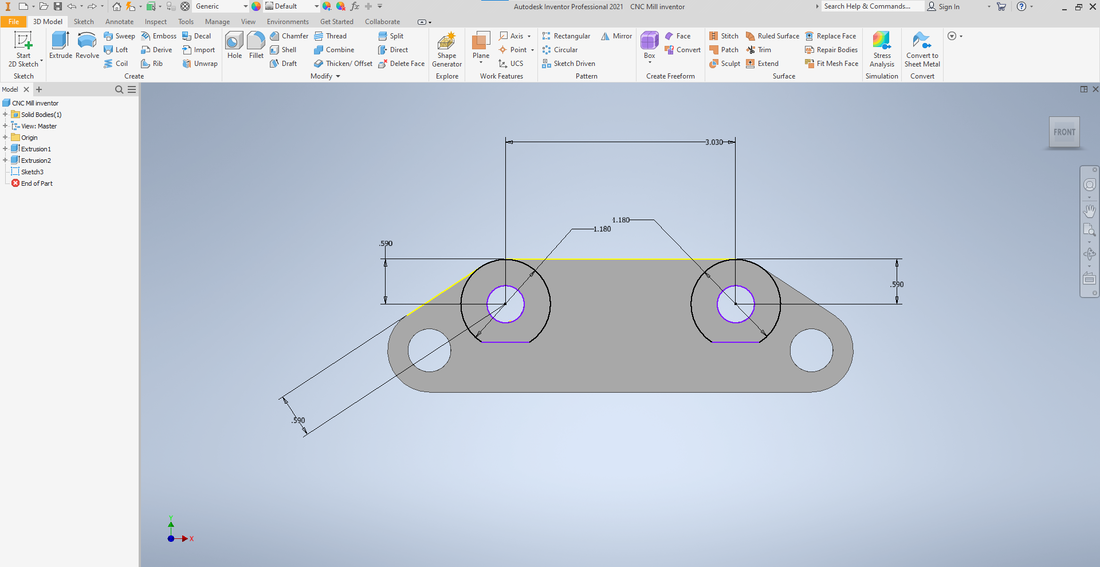
Step 3: Sketch and dimension circles on extrusion
Step 4: Extrude sketch again
Step 5: Sketch flat edges on upper circles
Step 6: Extrude for a final time
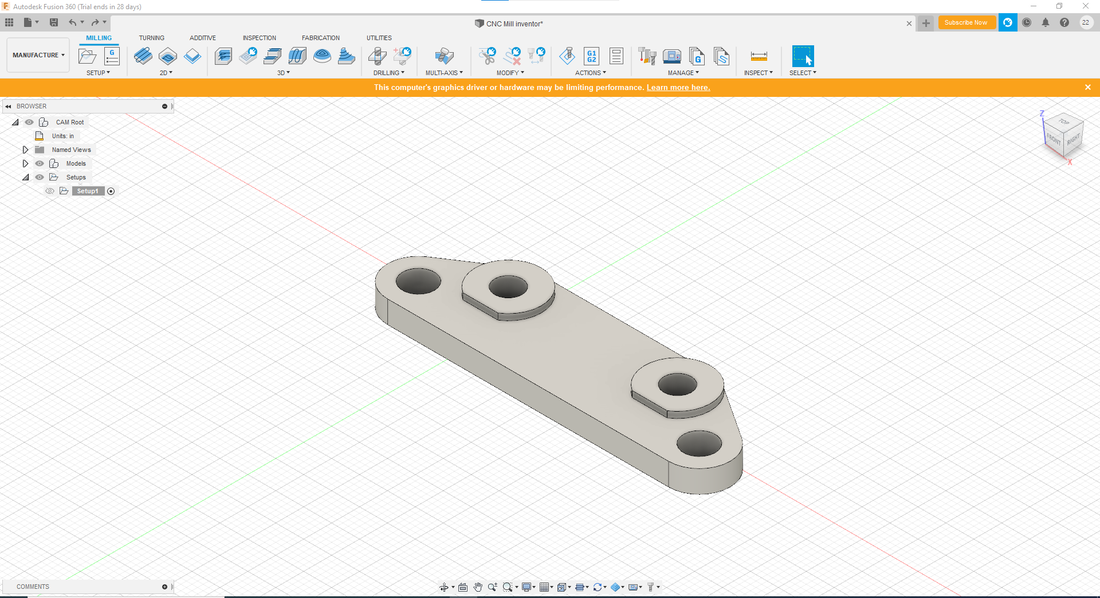
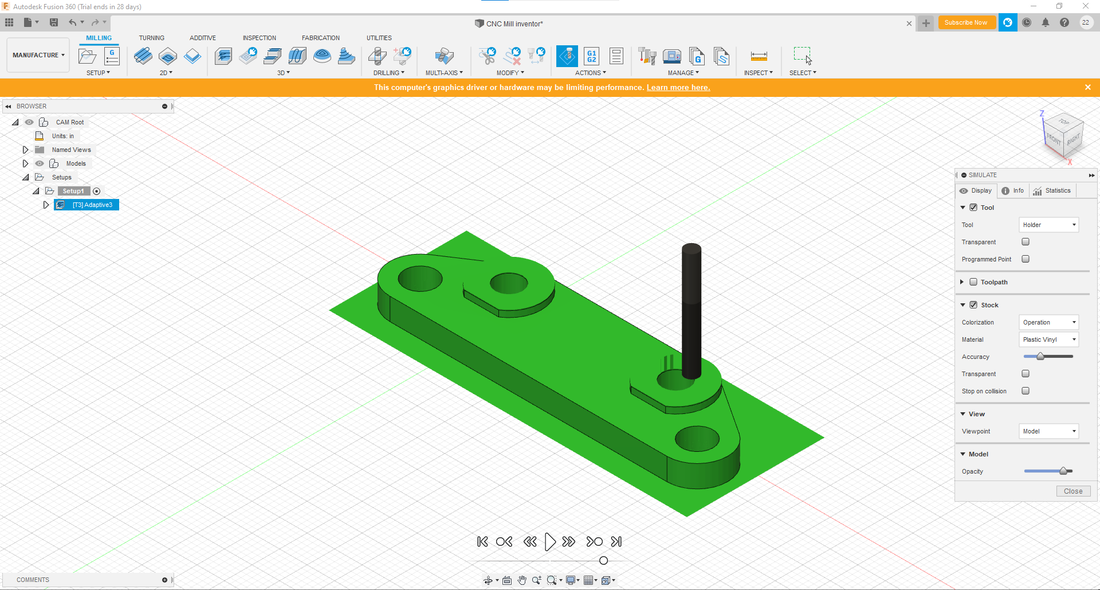
Step 7: Open completed brake bracket in Fusion 360
Step 8: Set up the brake bracket for the mill by arranging the layout, selecting the mill tool, and editing dimmensions
Step 9: Check tool path
Step 10: Open on mill software
Sep 11: Allign bit with the stock box point and set X,Y,Z,A to zero
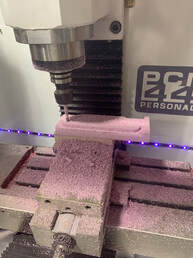
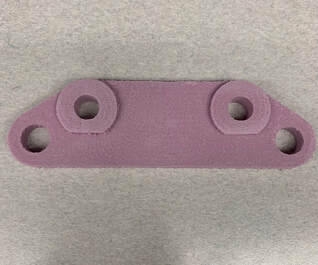
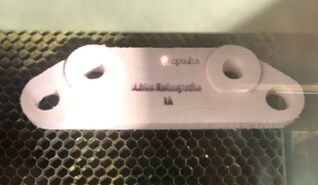
Step 12: Start mill cutting process
Step 13: Design name on Illustrator
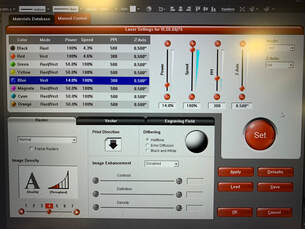
Step 14: Edit preferences on the laser UCP software
Step 15: Line up name on UCP
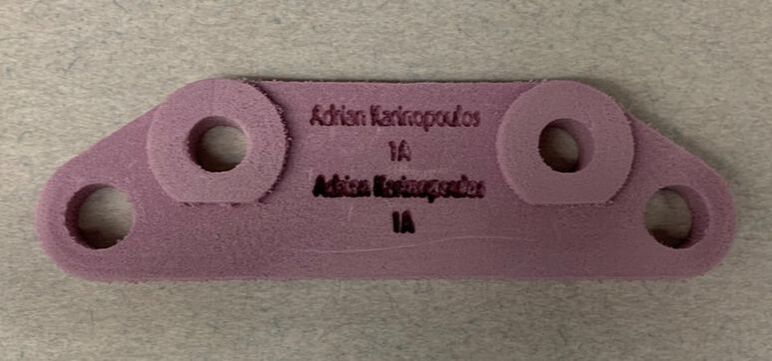
Step 16: Laser engrave name and hour on the foam
|
|


|
During this individual CNC mill project, I got more pratice using the laser and its software, as well as illustrator. I learned how to use the mill and its compatible software called Fusion 360. I believe it is beneficial to understand machines like the mill because its ability to slowly remove material allows it to create amazing things.
