
Step by step for creating a CNC maze:
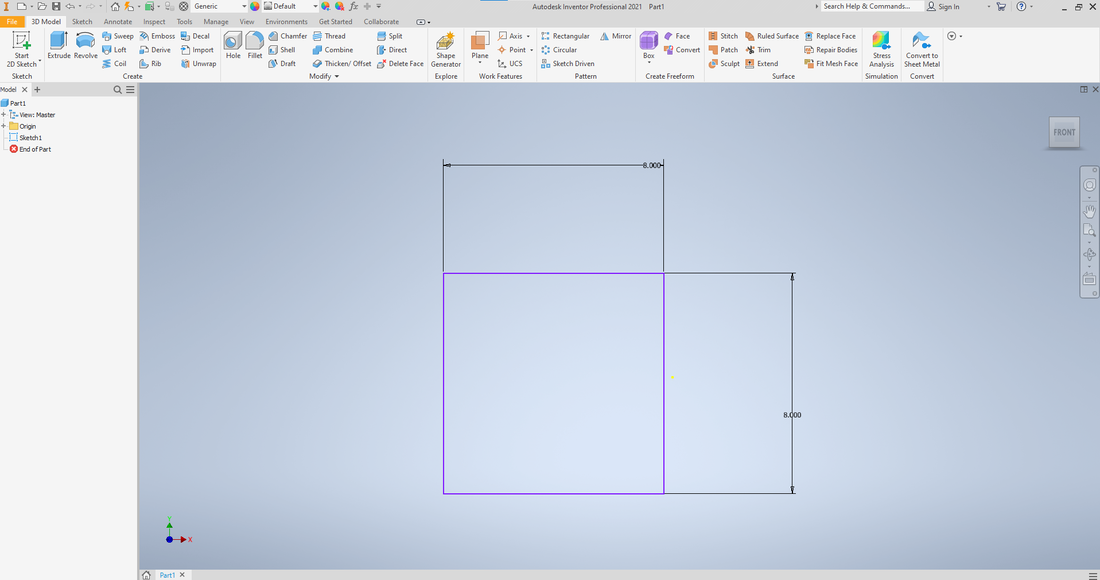
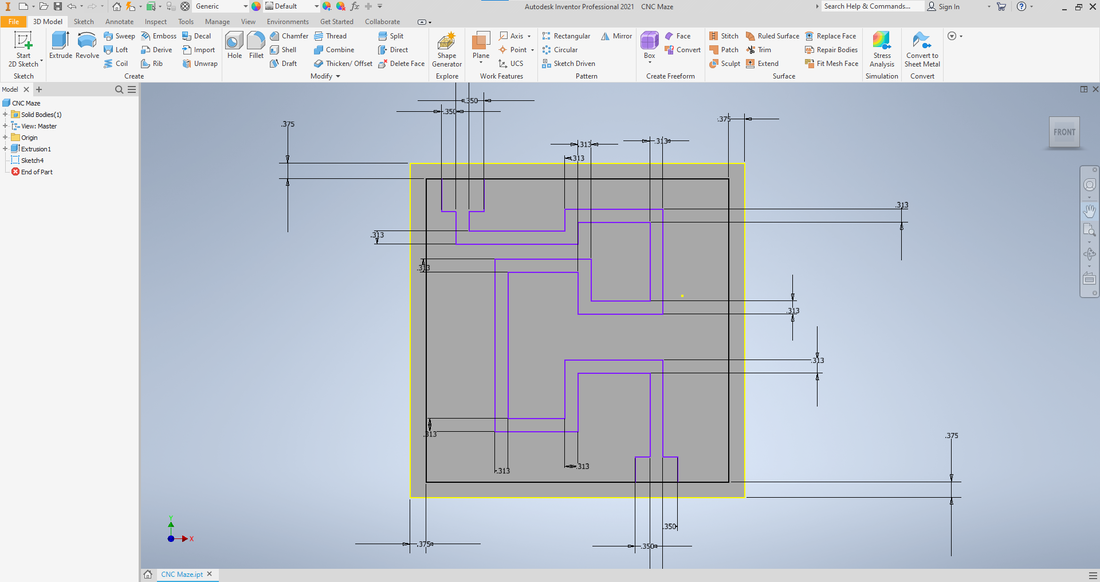
Step 1: Sketch object on Inventor
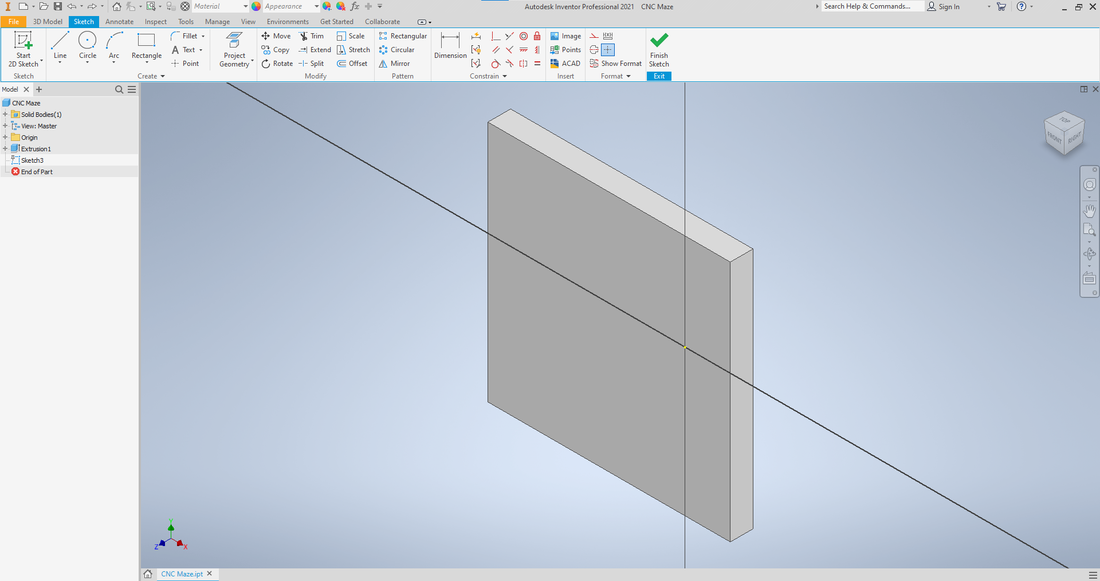
Step 2: Extrude sketch
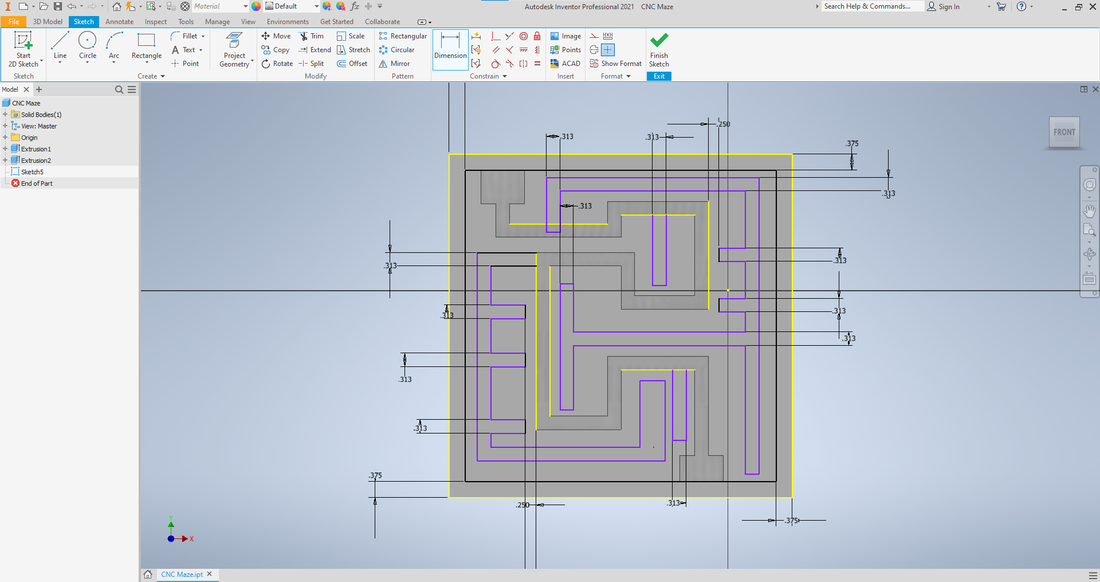
Step 3: Sketch correct path on extrusion
Step 4: Extrude again
Step 5: Sketch more paths
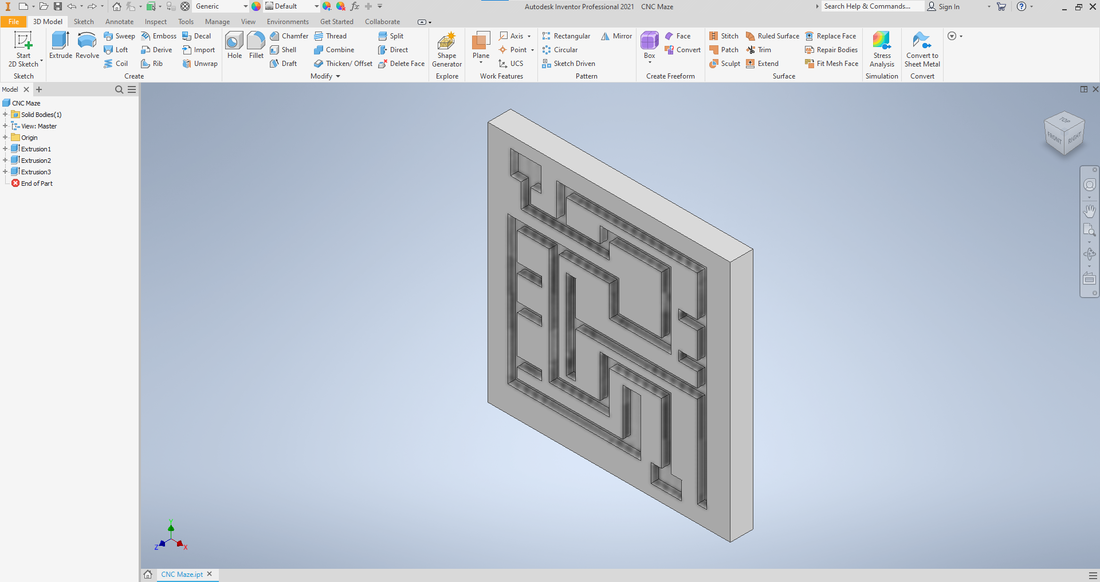
Step 6: Extrude for a final time
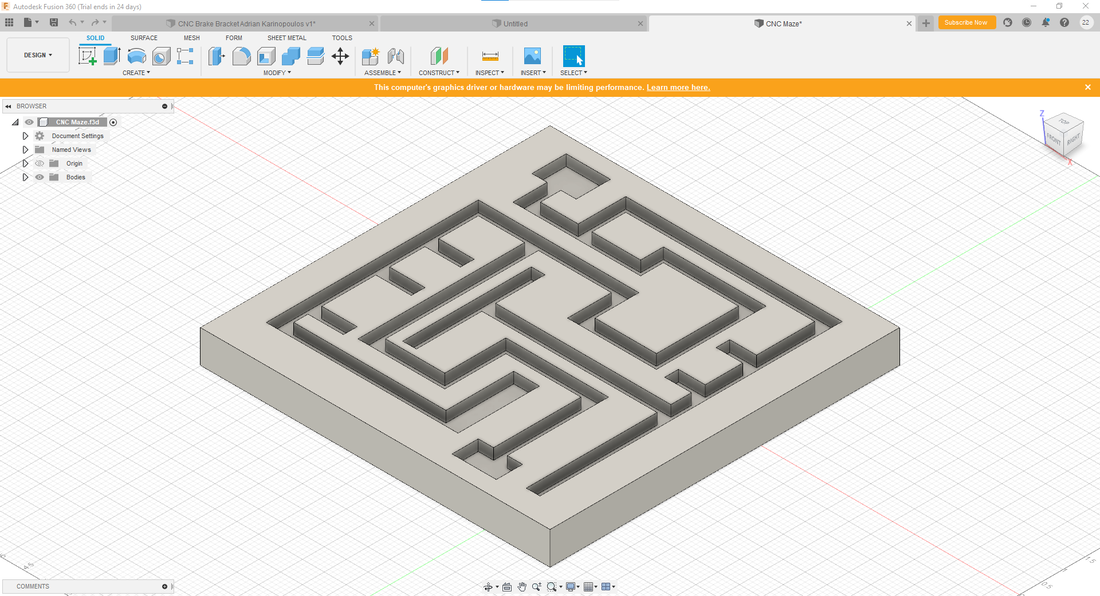
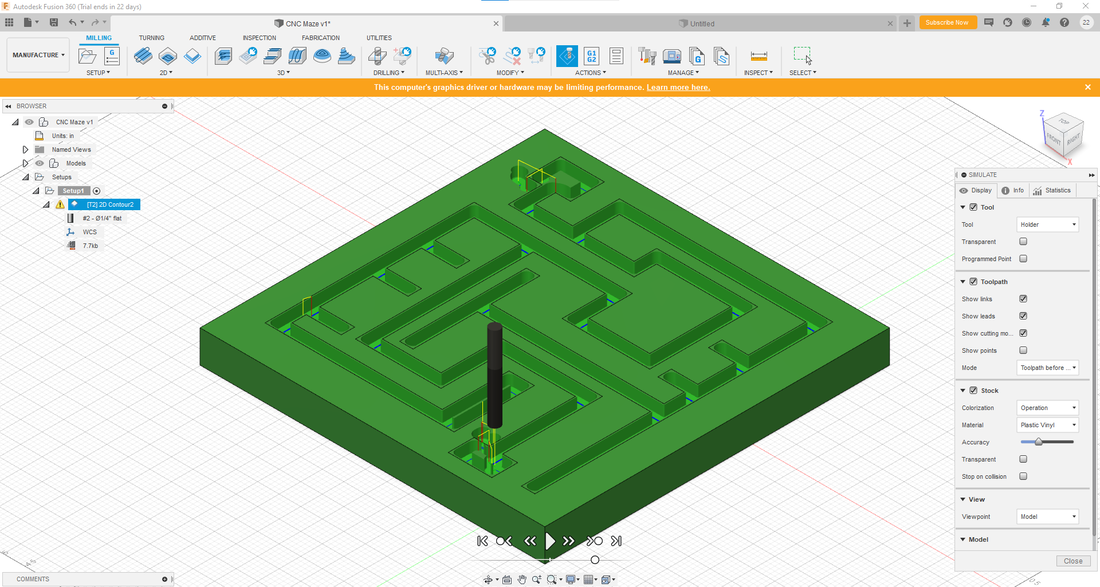
Step 7: Open completed maze in fusion 360
Step 8: Set up the maze for the mill by arranging the layout, selecting the router tool, and editing dimmensions
Step 9: Check tool path
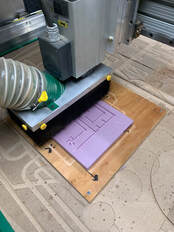
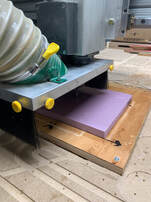
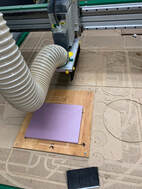
Step 10: Apply stock to router board
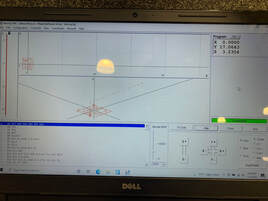
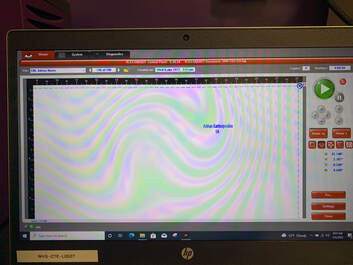
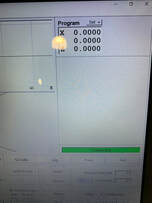
Step 11: Open Forest Scientific software
Step 12: Edit X,Y,Z to align router bit with stock box point
Step 13: Reset X,Y,Z to zero
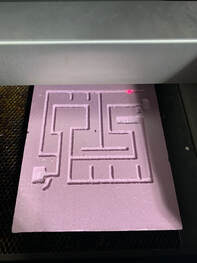
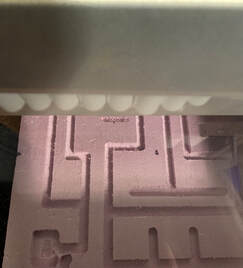
Step 14: Router cuts out maze
Step 15: Design name on Illustrator
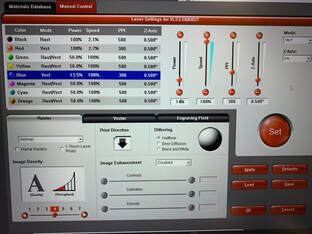
Step 16: Edit preferences
Step 17: Put stock in laser
Step 18: Line up name with the stock on UCP software
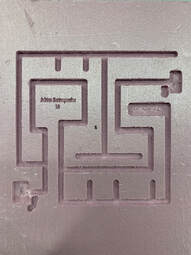
Step 19: Laser engraves name
Step 1: Sketch object on Inventor
Step 2: Extrude sketch
Step 3: Sketch correct path on extrusion
Step 4: Extrude again
Step 5: Sketch more paths
Step 6: Extrude for a final time
Step 7: Open completed maze in fusion 360
Step 8: Set up the maze for the mill by arranging the layout, selecting the router tool, and editing dimmensions
Step 9: Check tool path
Step 10: Apply stock to router board
Step 11: Open Forest Scientific software
Step 12: Edit X,Y,Z to align router bit with stock box point
Step 13: Reset X,Y,Z to zero
Step 14: Router cuts out maze
Step 15: Design name on Illustrator
Step 16: Edit preferences
Step 17: Put stock in laser
Step 18: Line up name with the stock on UCP software
Step 19: Laser engraves name

|
|
|
During this individual CNC Router project, I got more practice with Inventor and Fusion 360. I learned how to use the CNC router which was neat. The router was able to slowley cut away material allowing for my maze to be created. I also got to use the laser to engrave my name. Knowing how to use the router is benefical because it can create cool things by cutting away material at different layers.
